SolidWorks Rx is an invaluable tool used to communicate your SolidWorks problem with Intercad Technical Support. It can record a video of your problem, collect all the reference files and gather diagnostic information off your machine.
This blog will give you step-by-step instructions to create an RX capture.
How to Access RX?

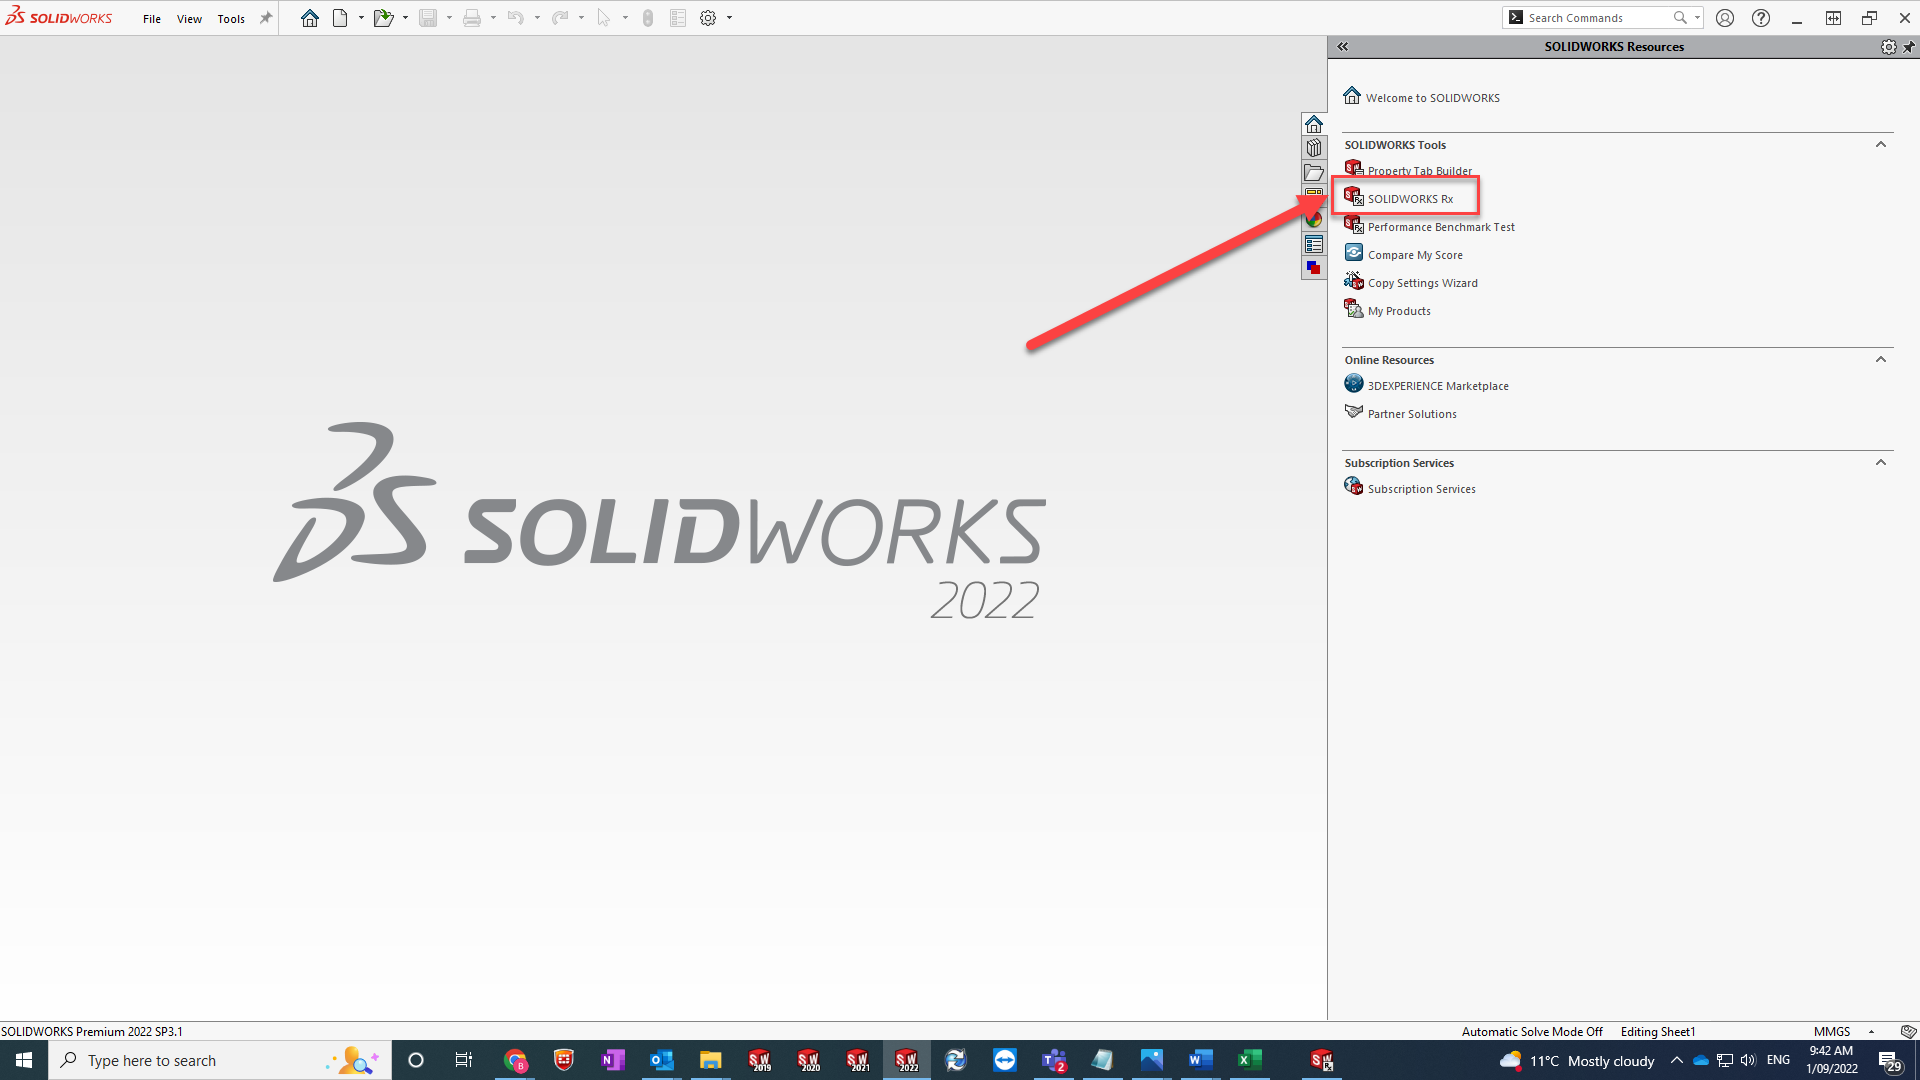
1. SolidWorks RX can be accessed through the “SolidWorks Resources” task pane as seen below.
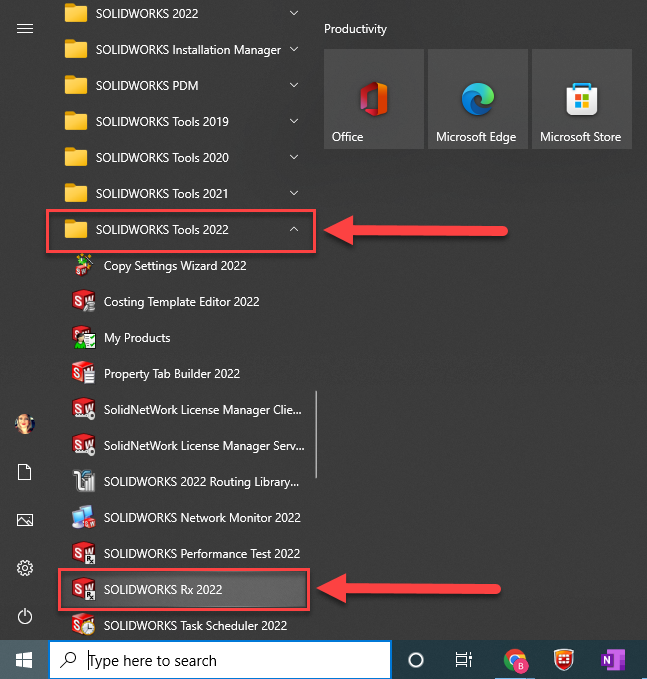
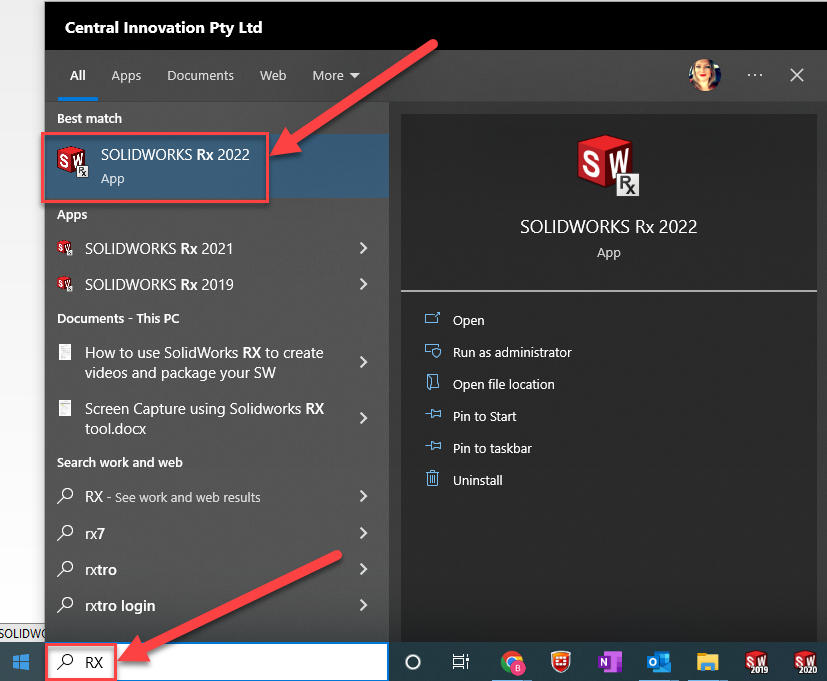
2. If SolidWorks is not open you can access SolidWorks RX from the installed programs list in windows or you can use the Windows search as seen below.
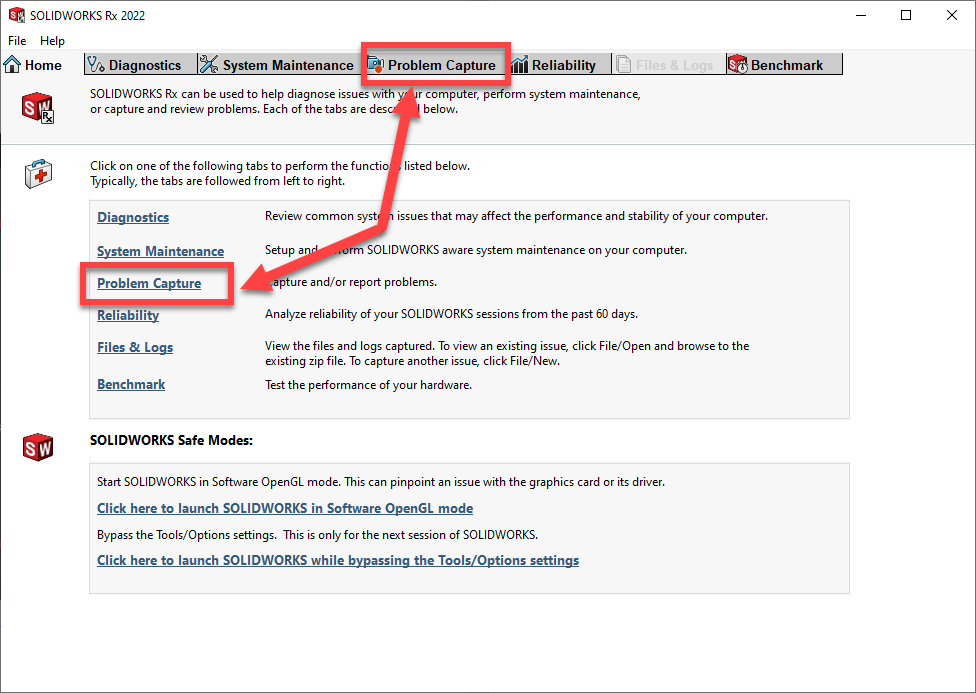
The SolidWorks RX program provides a lot of useful tools. This blog will cover the Problem Capture tool. To Access it please select the “Problem Capture” Tab.
There are 3 steps to creating the RX capture.
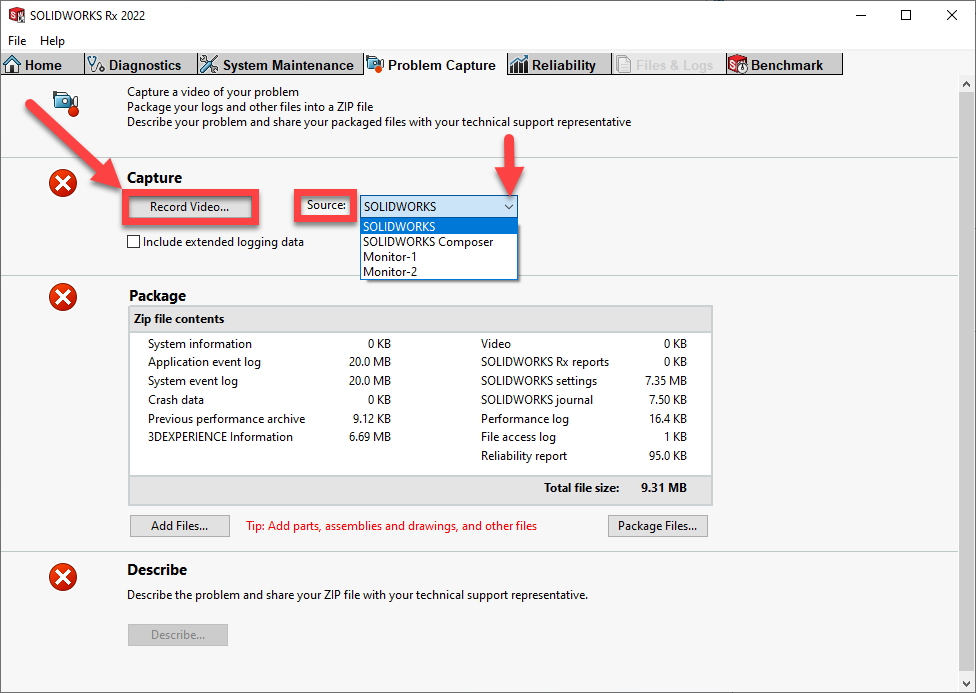
Step 1: Capture
Choose the source that you want to record. By default, it will be your SolidWorks window, but if there are other programs that will help show the problem you can select specific monitors. After selecting the source click “Record Video”.
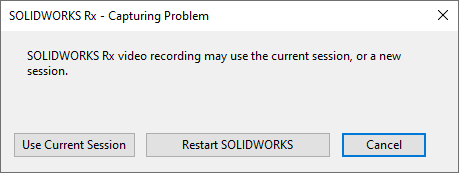
You will then be prompted to either “Use Current Session” or “Restart SolidWorks”. If it is possible to reproduce the problem after restarting SolidWorks please click “Restart SolidWorks”. Otherwise, you can use the current session
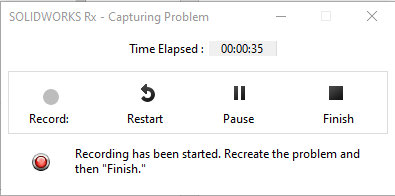
Click record and show the issue. If possible start with opening the file so the workflow can be followed from start to finish.
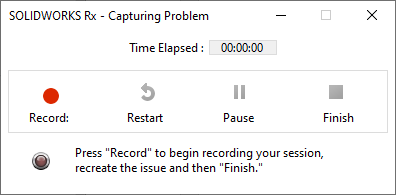
At any time you can pause or restart the recording. When completed click “finish”.
Step 2: Package the files.
After recording the video you need to package the files
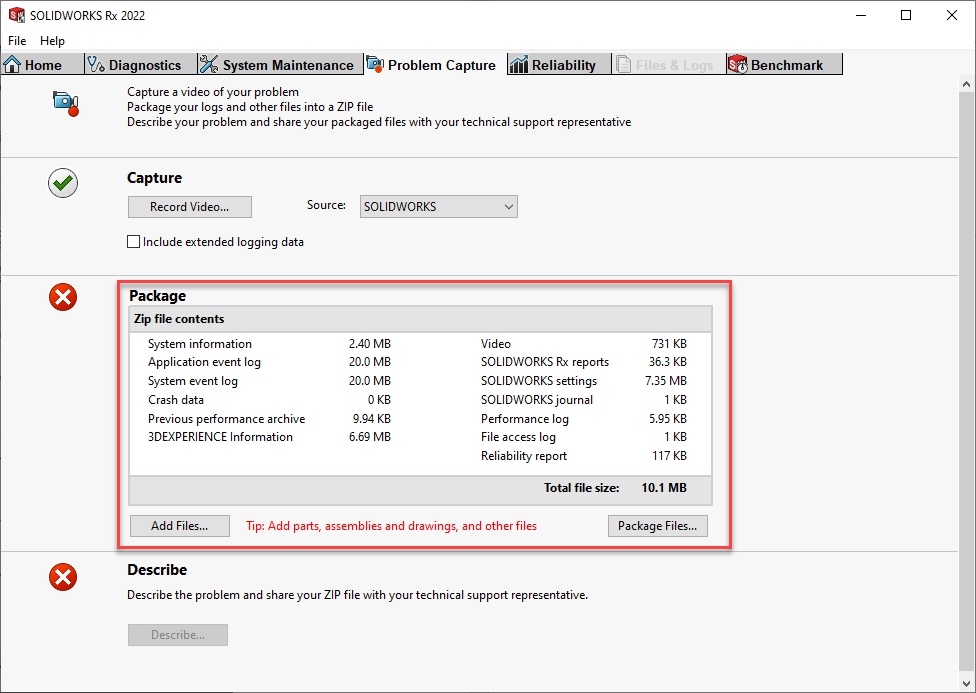
You can click “add files” to either add or remove files from the package. Note: SolidWorks RX by default will include all the references from the entire session so you may wish to remove some files that are not relevant to the problem.
Once satisfied the required files are included click “package files” to save the .zip onto your hard drive.
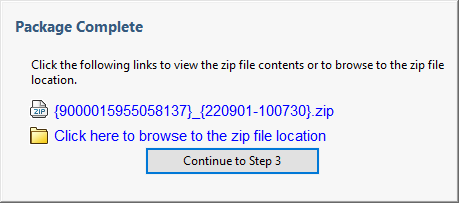
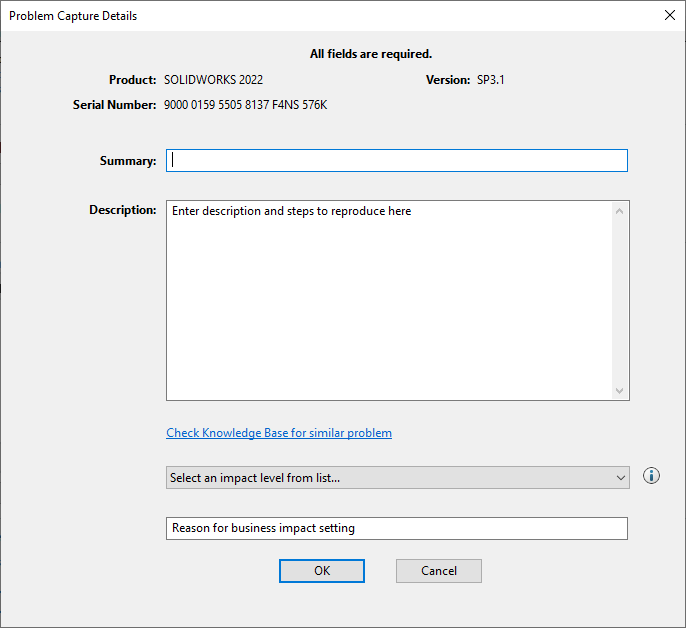
Step 3: The package is now complete. You can optionally “Continue to step 3” which allows you to describe the problem and impact level or alternatively you can skip this step and put this information in the email.
The files are now ready to be sent to technical support. If it is under 10MB you can email it to support@intercad.com.au. If it is over 10 BM upload it to our hightail account https://spaces.hightail.com/uplink/centralinnovation and make sure to email us advising you have uploaded the RX.
Please ensure you include any additional information as this will reduce the time it takes us to solve the problem.