Add customized standards in hole wizard
Learn how to create custom hole standards in SolidWorks without modifying existing libraries.
Hole Wizard is an amazing tool that includes hole definitions from a variety of standards. The process of customising the Hole Wizard library to incorporate non-standard entries will be covered in this blog.
Rather than changing current standards, we’ll establish a new customised standard based on one of them.
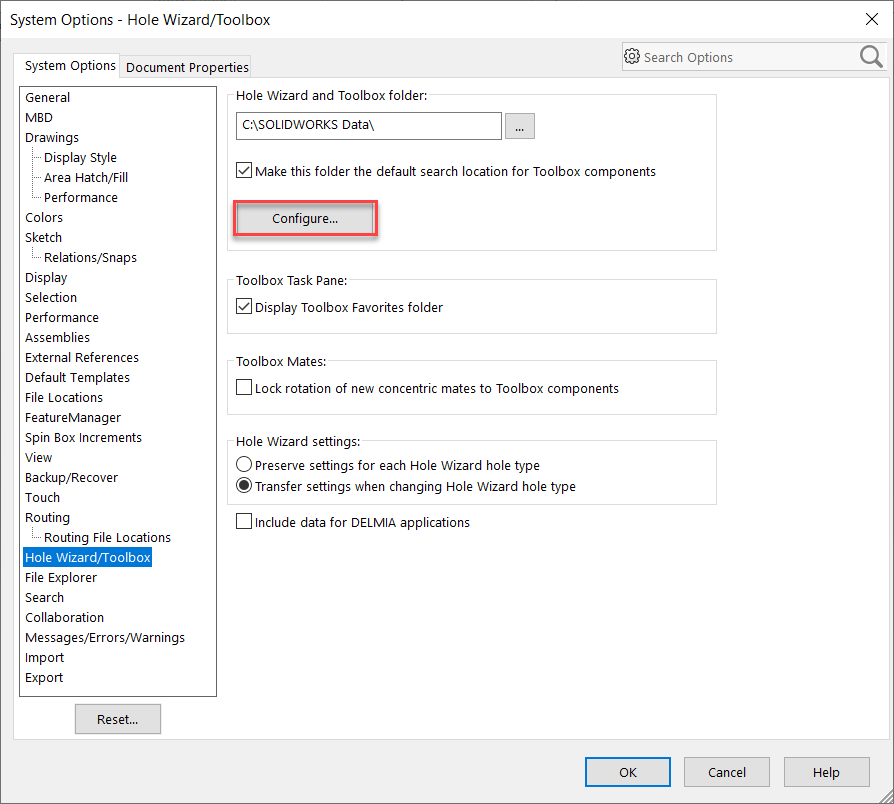
First, from SolidWorks go to Tools>Options>Hole Wizard/Toolbox and select Configure.
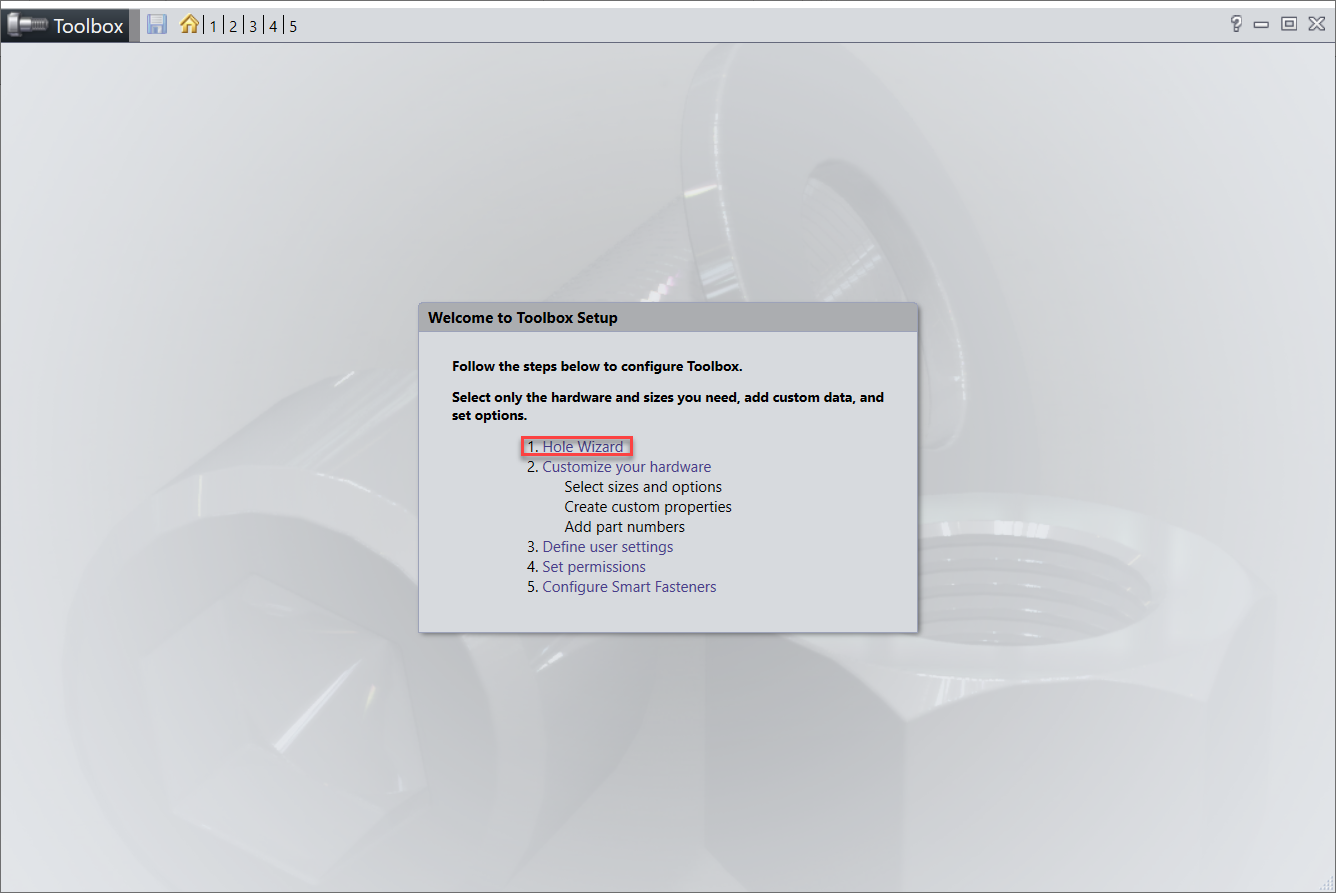
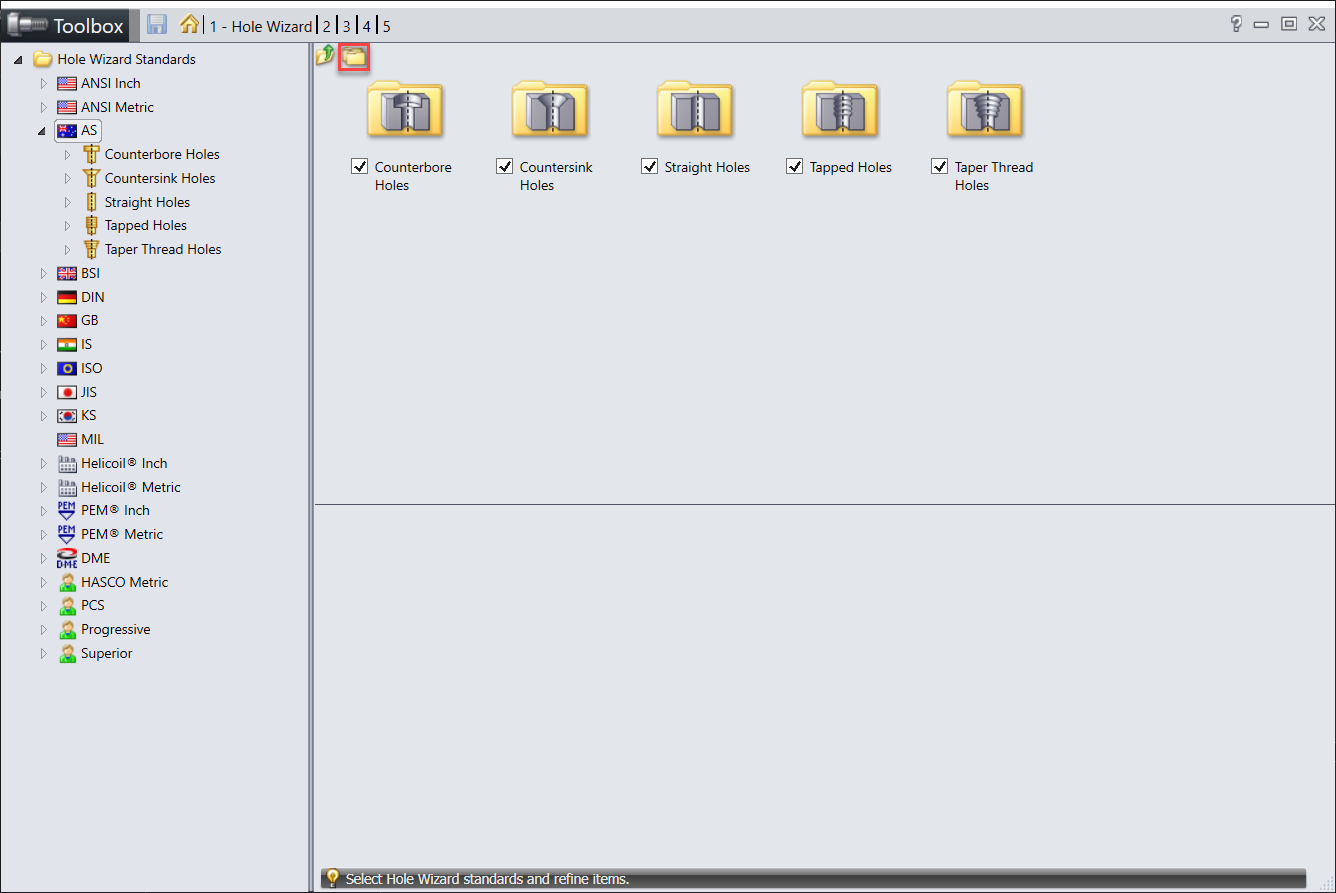
Select Hole Wizard.
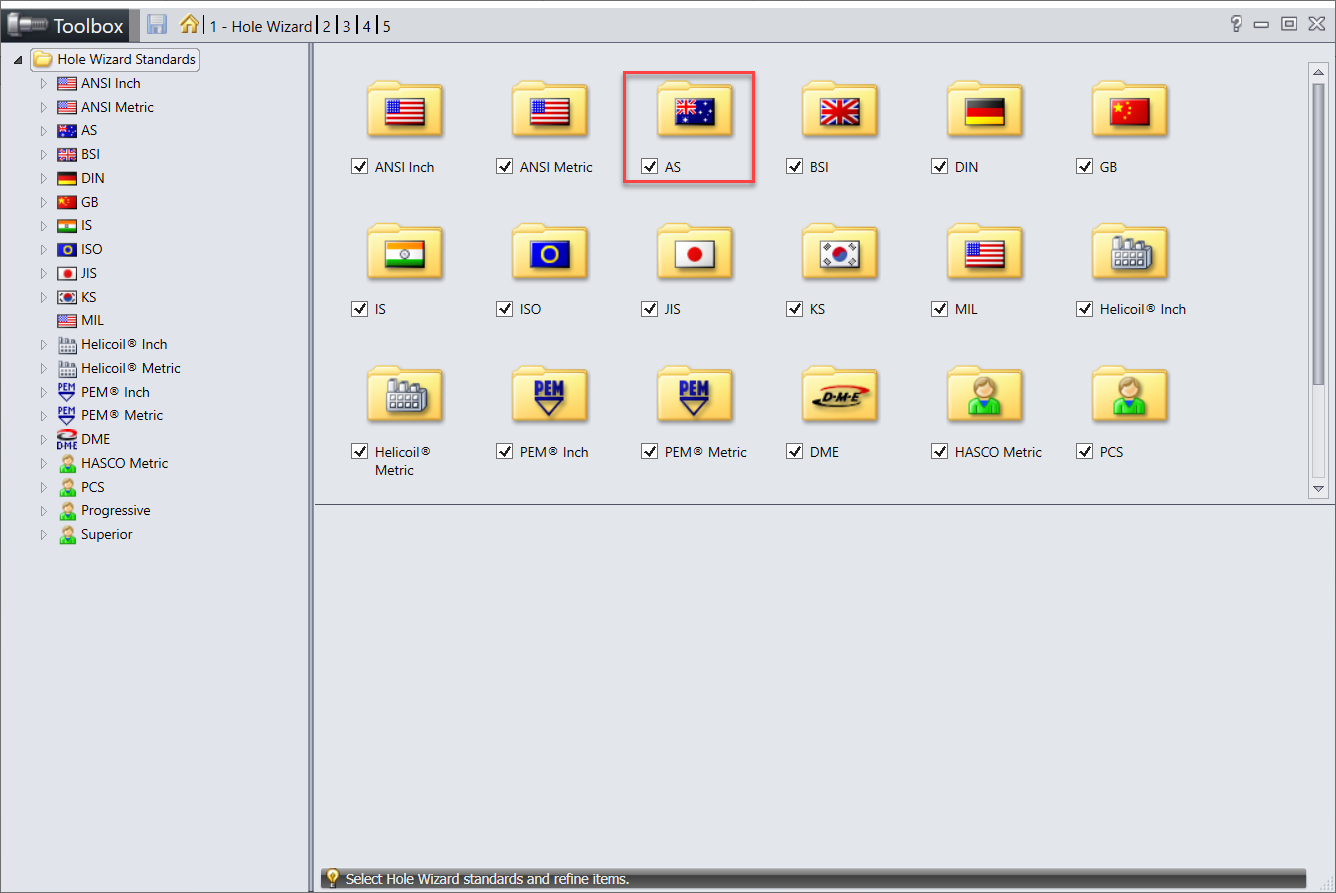
Choose the standard we’ll use to create our new modified standard; in this case, I’m choosing AS.
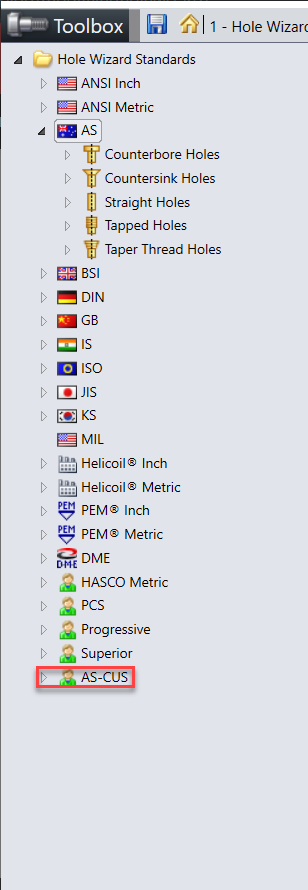
Select Copy Standard in the top left and type in a new name for the standard; I’ll use AS-CUS, but you can use customer/supplier names if they require separate standards.
This will then appear in the Hole Wizard Standard tree at the bottom.
We can now open and navigate to the hole type we wish to add to the system.
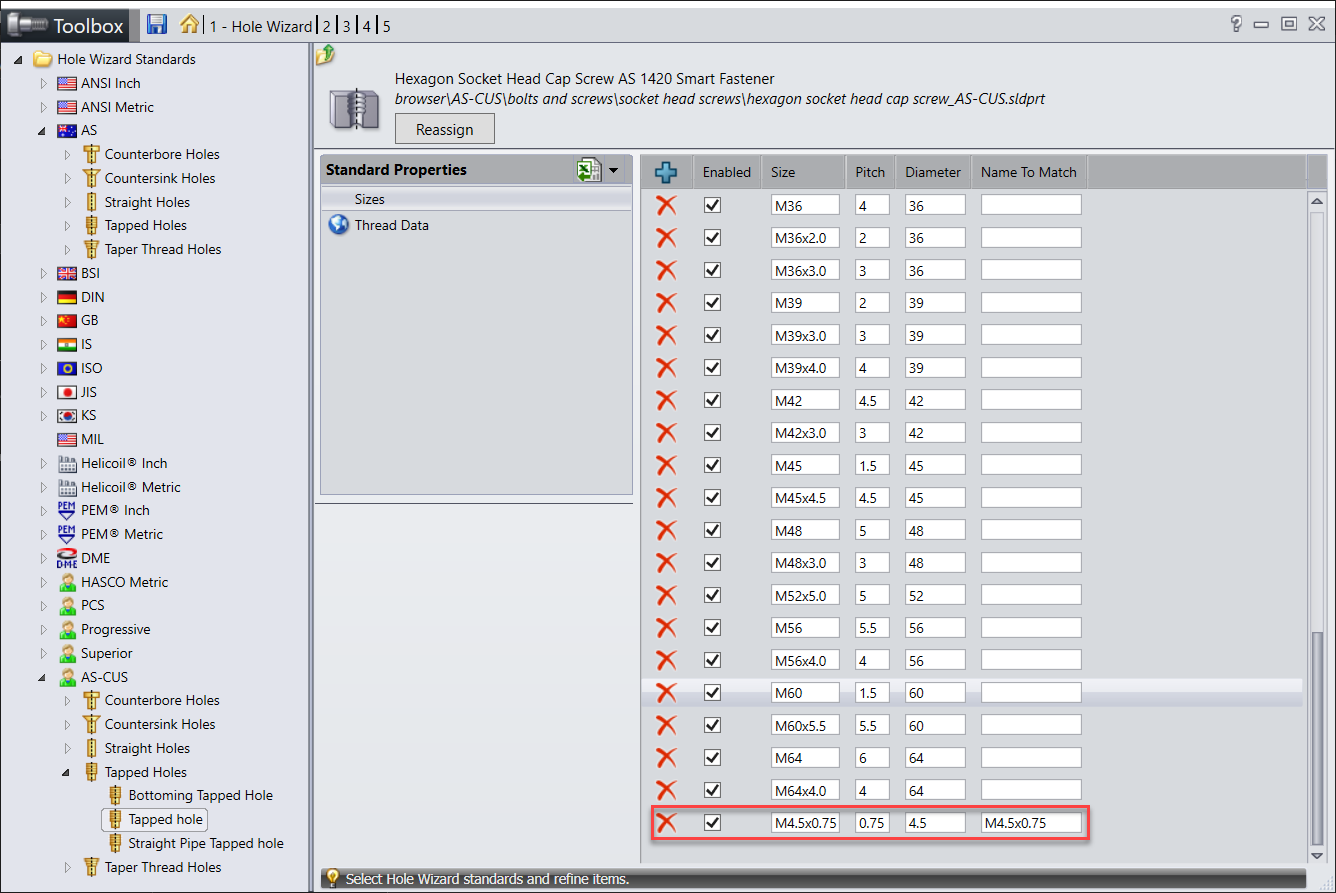
I have navigated to AS-CUS>Tapped Holes>Tapped Hole then select the blue cross to add a new line
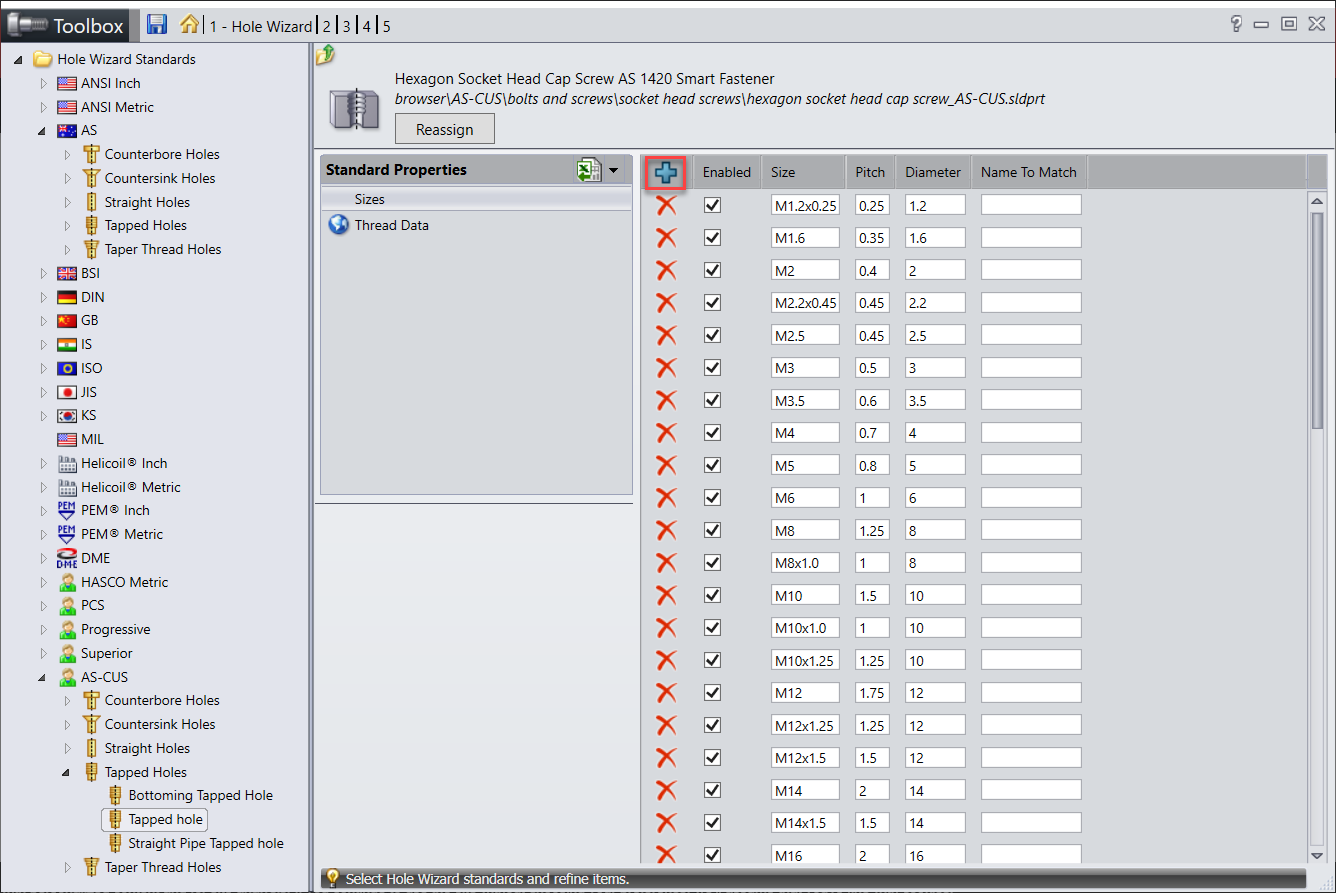
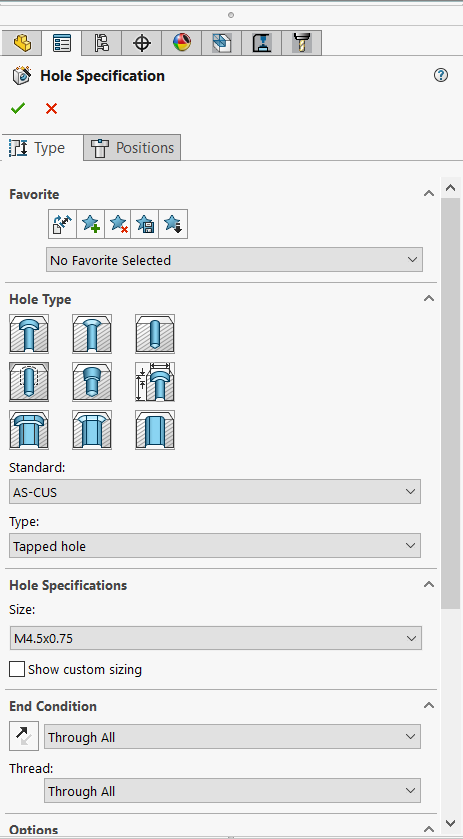
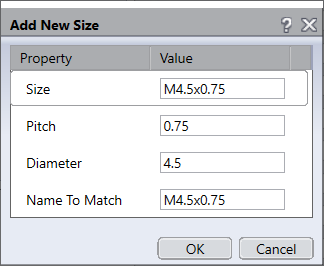
We’re going to add an M4.5×075 tapped hole to the updated size information.
The new size will be added to the bottom of the list.
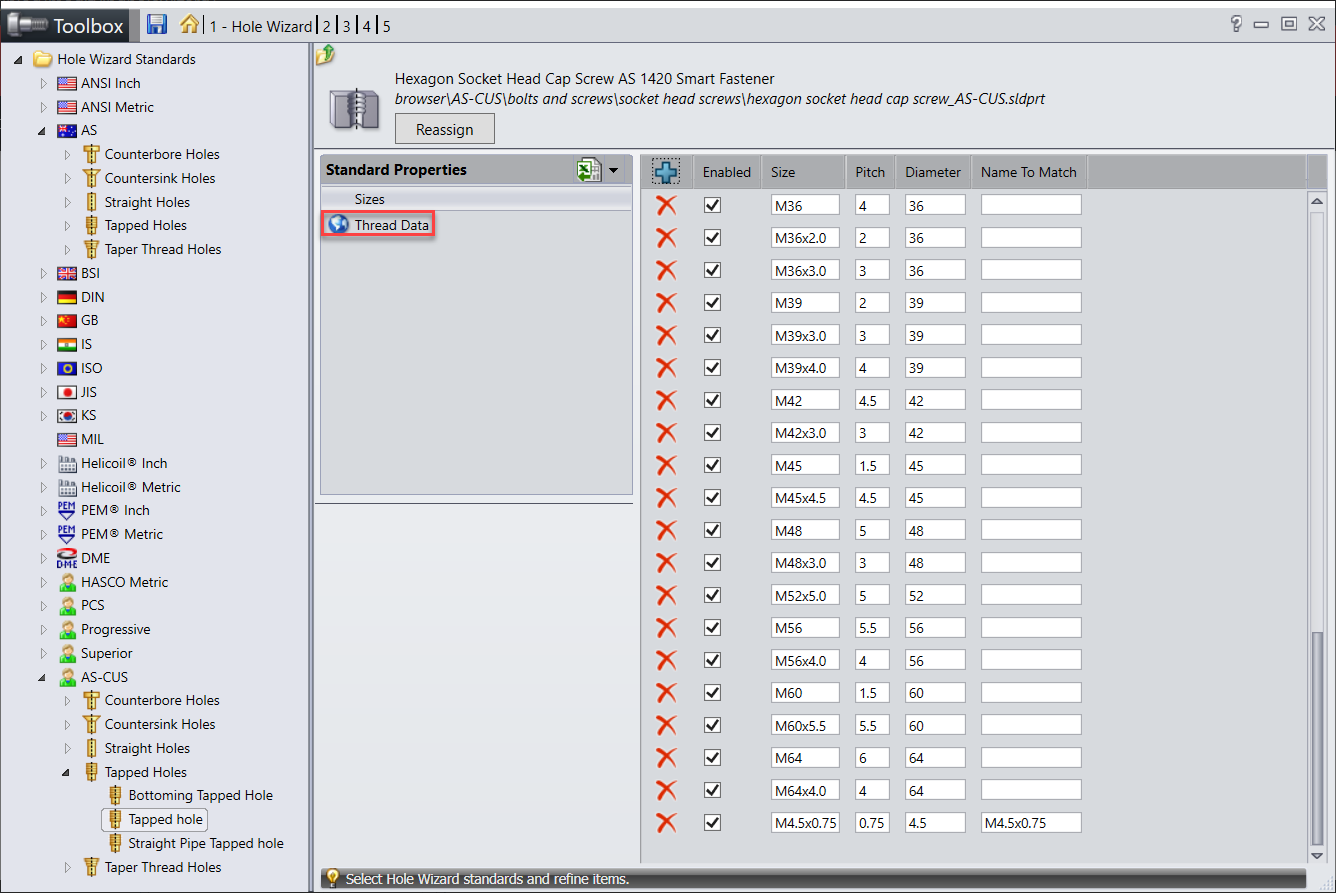
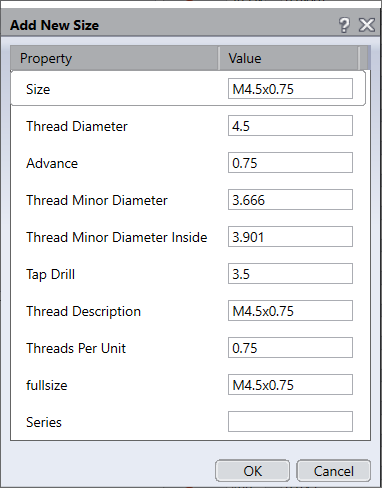
Then, by clicking Thread data and the Blue Cross, we enter the thread information for the new size.
Save your modifications before exiting the wizard.
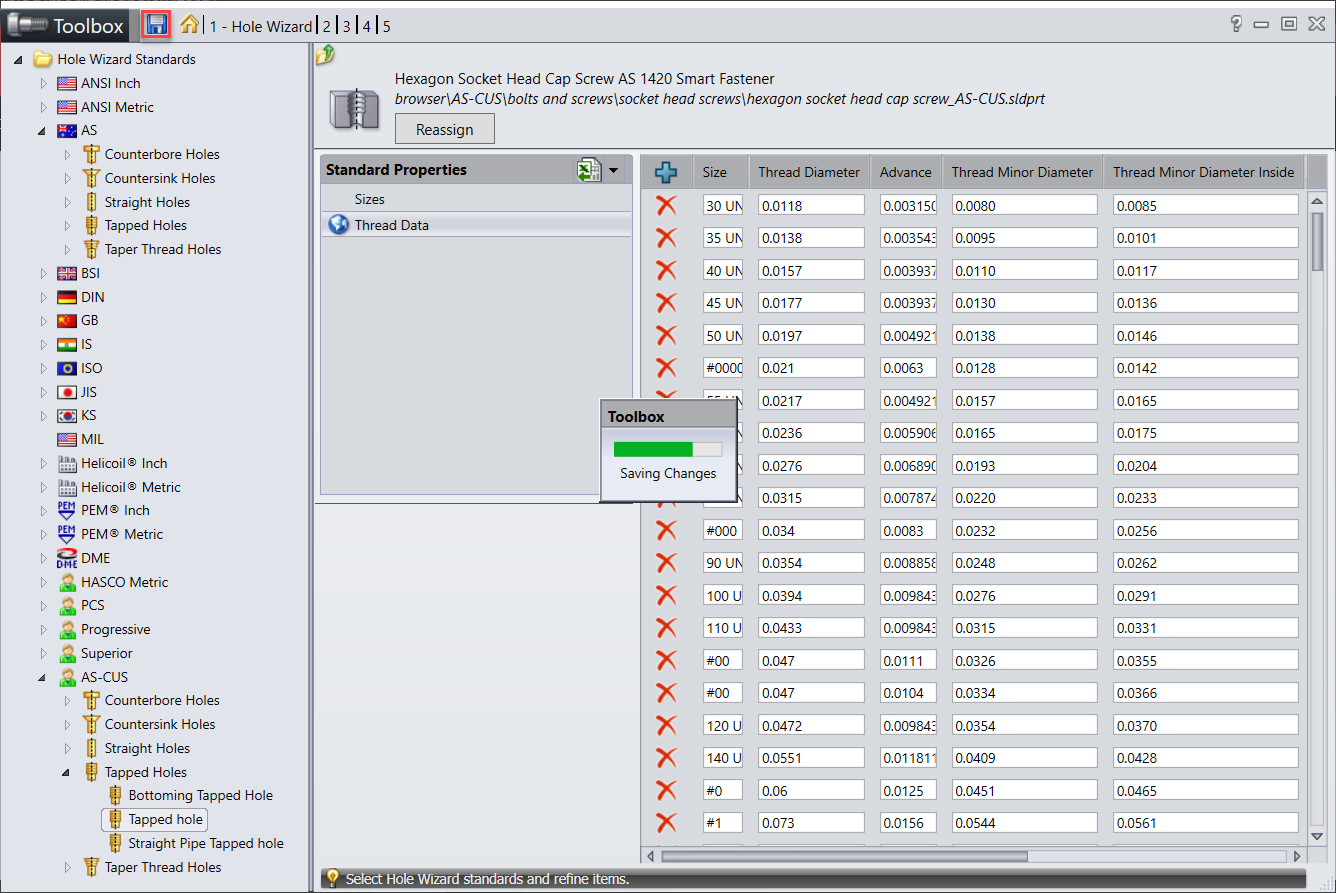
The new standard and size have been added to the hole wizard.