Creating a Circular Shaped Drawing Frame
Tips and Tricks • Joshua Osborne • 11 February 2019
AEC - Tip of the Day, Archicad, Ci Tools

Drawing Frames are effectively closed polygons so edit in a similar way to Slabs, Roofs or Fills.
You can select any Drawing (on a Layout Sheet or in the Modelling Environment) and click on the boundary to use the Pet Palette to add points, offset edges or add and remove… exactly the same as other Polygon based elements.
However, if you want to create a circular shape this is a little more involved…
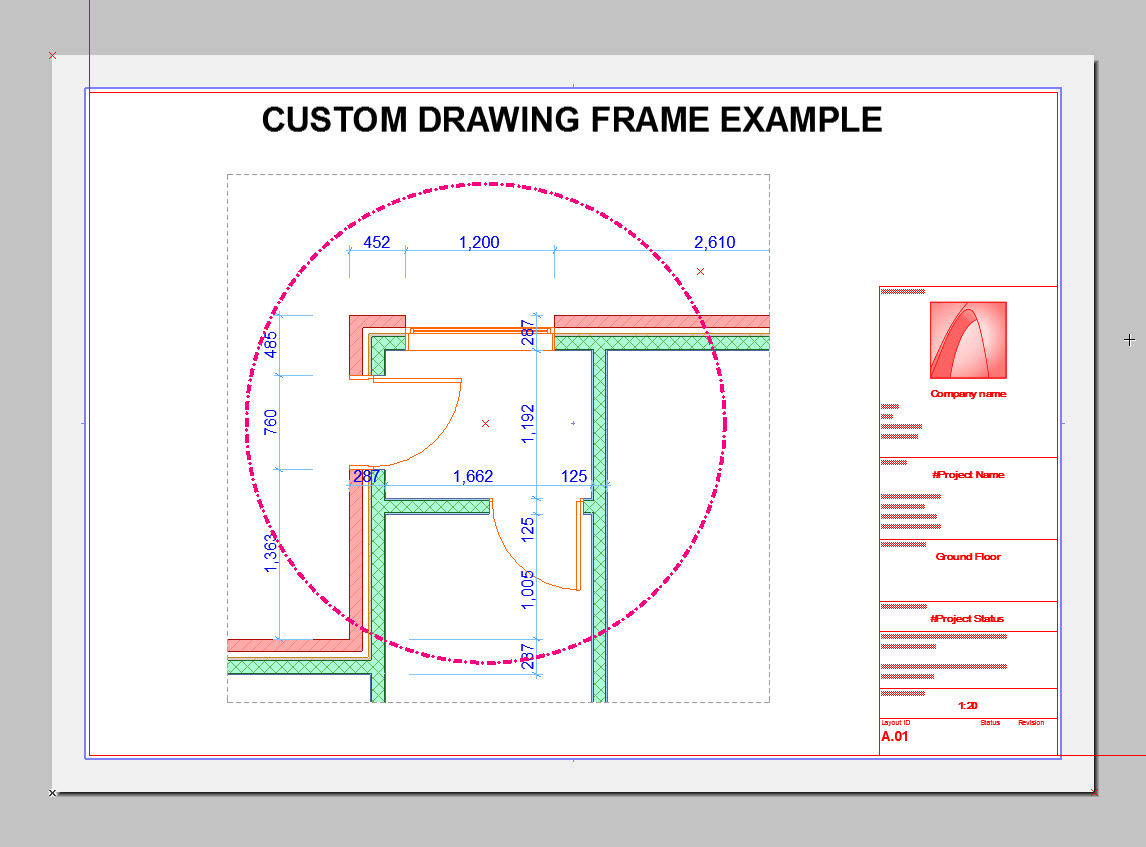
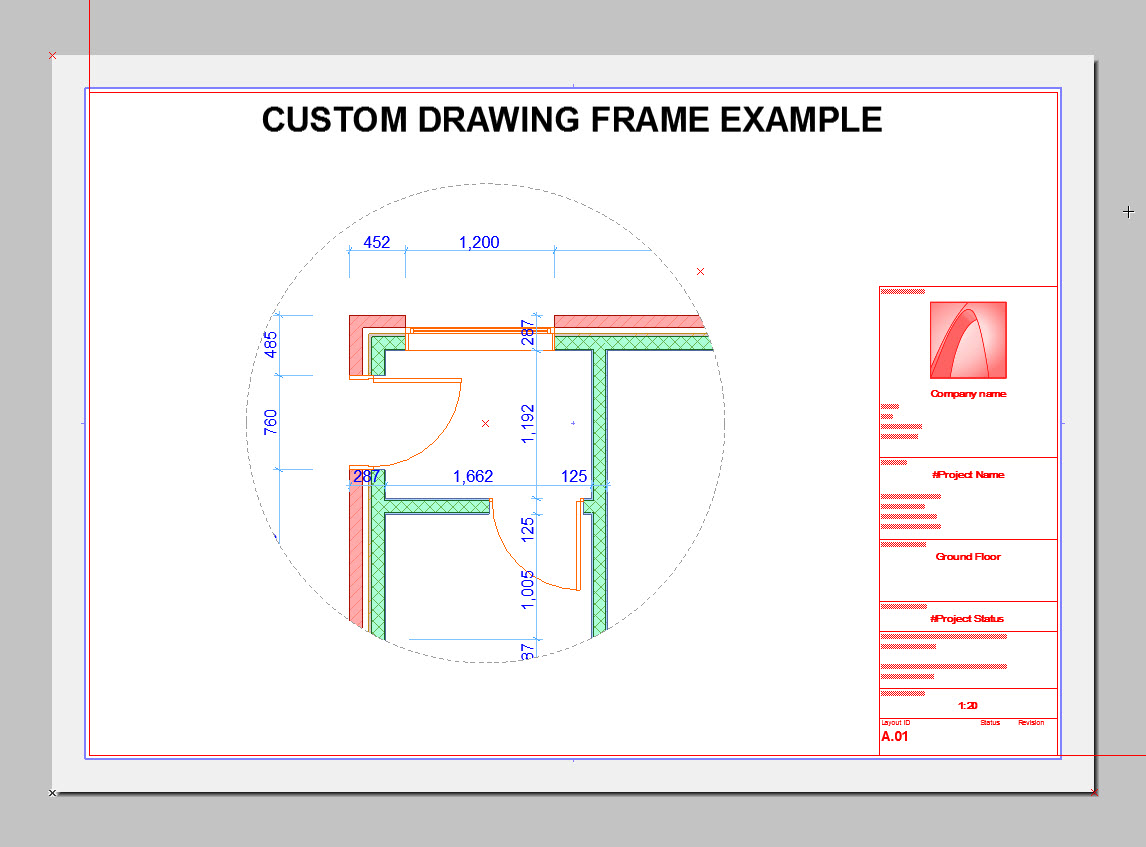
STEP 1: Place the drawing on the layout so that it displays in its normal / original drawing frame. Add the circle in the position it needs to be (in this case I have used a very thick pen to show in this screenshot):
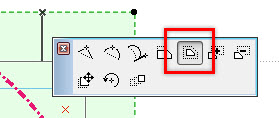
STEP 2: Select the Drawing and click on its edge then use the Offset All Edges option to shrink the boundary entirely inside the circle:
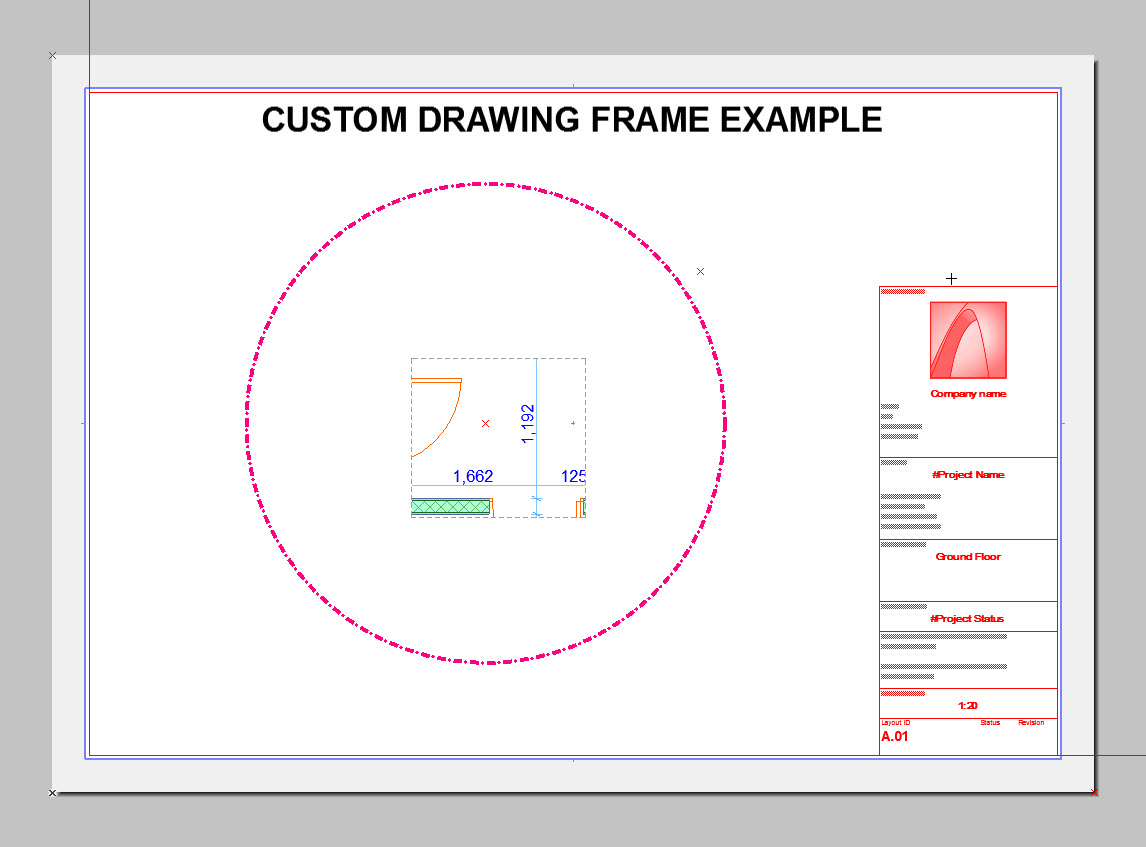
The result will be similar to:
STEP 3: Select the Drawing and click on its edge then select the Add to Polygon option:
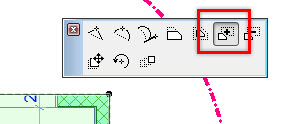
STEP 4: Use the Magic Wand (space bar) and click between the existing drawing frame and the shape you want to extend to (between the rectangle and circle in this case). The end result will be the following:
…the 2D circle has been deleted or had the layer hidden.