New and Demolished openings with the CI Coverings Wall Claddings
Tips and Tricks • Jenna Durham • 11 July 2023
AEC - Tip of the Day, Archicad, Coverings

Often we are asked how to make the CI Coverings Wall Claddings work with the Archicad Renovation system. Due to the way the system works, this is not something the Wall Claddings can do on their own, but we have workarounds to get the right result anyway.
First things first, an ‘Existing‘ Wall Cladding element will automatically generate spaces for ‘Existing‘ and ‘New‘ openings, but not ‘To Be Demolished‘ ones, and will not change this behaviour with different Renovation Filters.

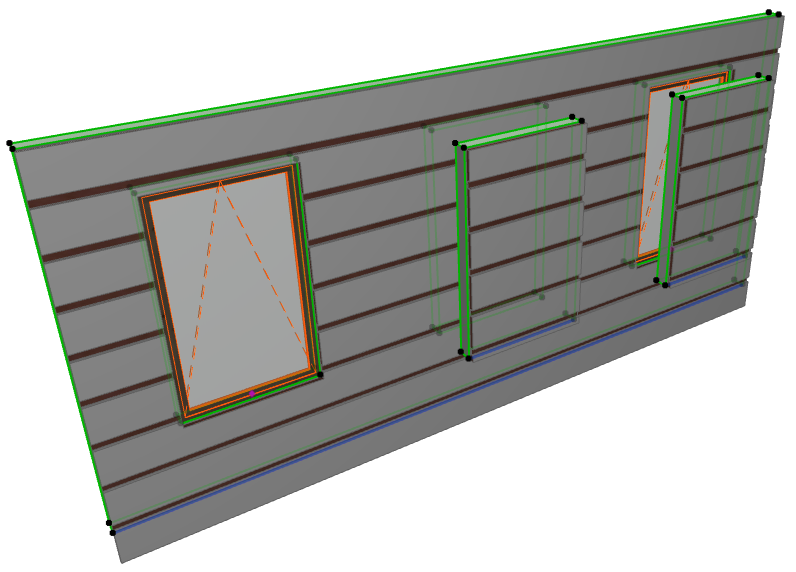
Left to right: Existing, To Be Demolished, New
With this in mind, we are left with two questions:
- How do we create a space for the ‘To Be Demolished‘ opening, and correctly show the new cladding infill?
- How do we close off the space for the ‘New‘ opening for the pre-demolition filter(s)?
The easiest way to do this is to create new wall elements the same size as the openings, and add a matching cladding to it. Set the appropriate Renovation Status; ‘New‘ for the ‘To Be Demolished‘ opening and ‘To Be Demolished‘ for the ‘New‘ opening, for both the wall and cladding.
New Wall and Covering elements before being moved into place.
Move the new elements into the line of the main wall, then send the new Wall elements to a hidden layer.
That’s all for the ‘New‘ opening, but we still have to create a space in the main Wall Cladding for the ‘To Be Demolished‘ opening. Luckily this can be done with yet another wall element, this time intersecting the Wall Cladding, and using it as a Solid Element Operator. Now both of the openings will display correctly on all Renovation Filters.